I always measure my windows first: rod to floor, plus 6–10 inches past each side for that wide, custom look. Then I pick my length: floating half an inch up, kissing the floor, or puddling 3–6 extra inches for drama. I mount rods halfway to two-thirds above the frame to fake higher ceilings, or I grab Tap Brackets when I can’t drill. Just 3–5 taps per side takes about ten seconds. Tracks give smooth gliding, rods feel classic, and Command strips work for light stuff under ten pounds. I mark my spots, drill pilot holes, and windows are transformed. The following sections detail each method so you can achieve professional results.
Measure Your Windows Before Buying Anything
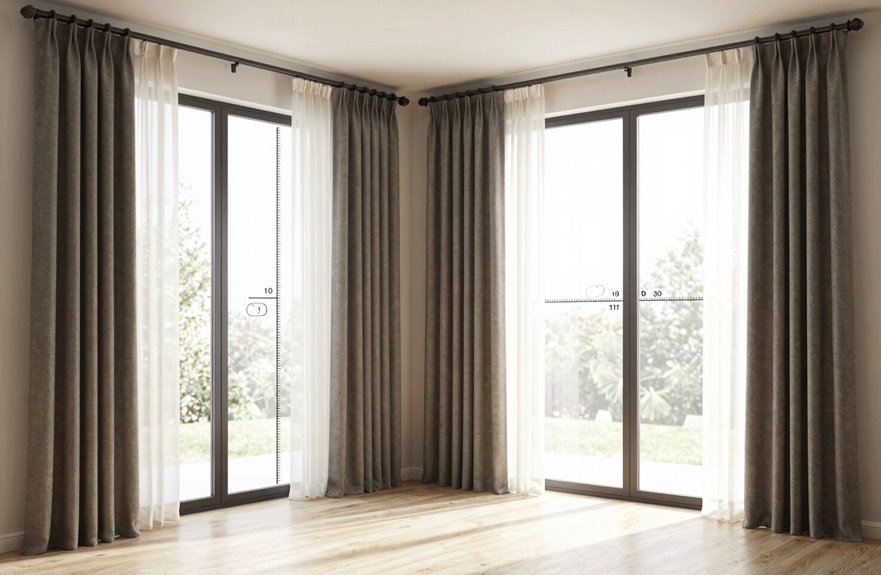
Next I measure height from where I’ll hang my rod to where I want the hem: float, break, or puddle. A float that’s 1/2 inch off the floor makes cleaning easier.
For fullness, I divide my window width by 2 and double that for each panel. More fabric creates that luxe, expensive look.
Only after I’ve got these numbers do I shop for curtain hardware and fabric. This approach eliminates returns and guesswork.

TOOL-FREE INSTALLATION: Quick and easy outside mount installation requires no drilling or special tools, suitable for rental homes and apartments

【Check Compatibility Before Purchase】Designed for outside-mounted blinds with exposed top headrails measuring 1.2"-2.2" wide. Please confirm your blind type and measure the headrail (top rail) before ordering.

TOOL-FREE INSTALLATION: Quick and easy outside mount installation requires no drilling or special tools, suitable for rental homes and apartments
Mount Your Rod High and Wide for Bigger Windows
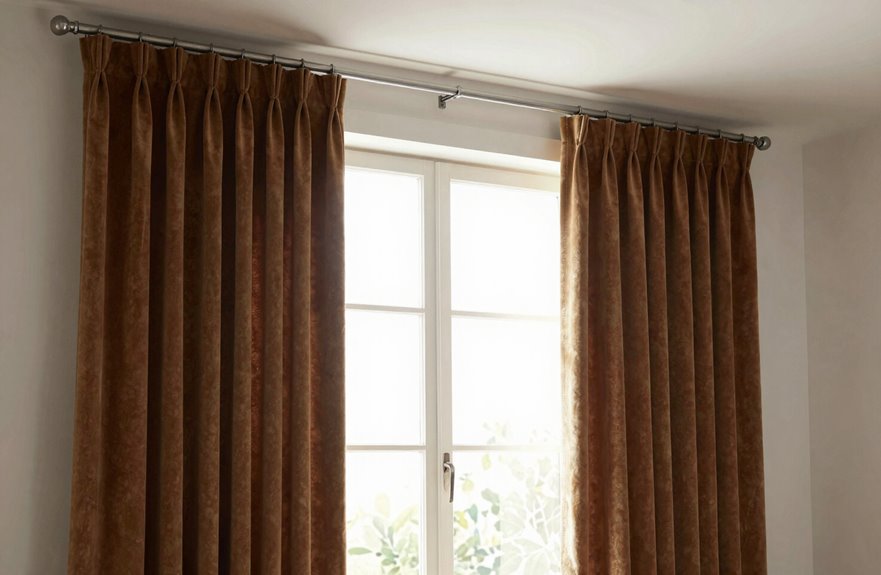
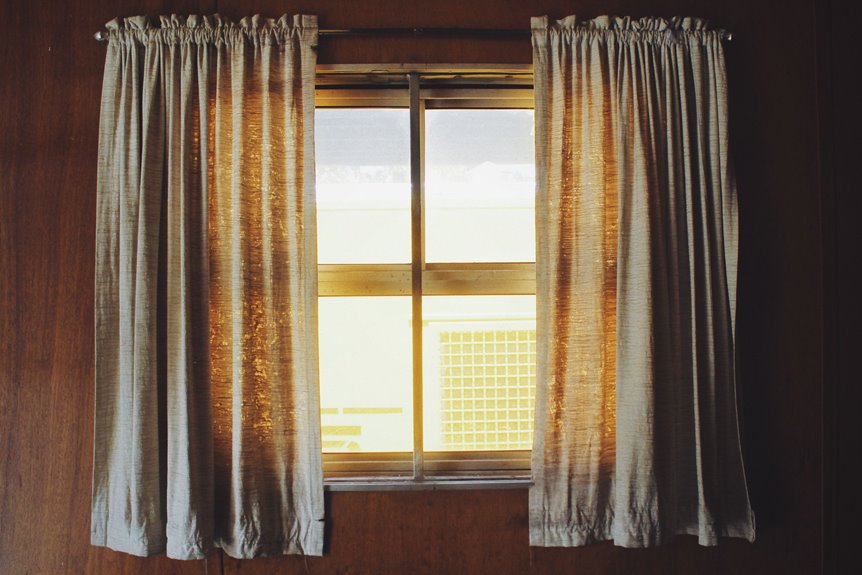
Where do I always start when I want my windows to look captivating? I go high and wide with my curtain rod placement.
I hang that rod 1/2 to 2/3 above the window frame. It lifts your ceiling line and creates instant window size illusion. Your room feels bigger. I extend 6-10 inches past each side too. This trick means your curtains fully clear the window when open, and that light pours in.
I’m obsessed with outside-mounted rods for this reason. They hide the frame edges and make everything look custom. For hanging curtains on wide windows, I grab four panels (not two) for that soft, full look. Grab 95-inch panels or longer. Nothing looks worse than curtains that float awkwardly. Outside-mounted rods with proper panel width create the polished, professional appearance that transforms a room’s proportions.

Adjustable Length: 32-144" curtain rod fits windows 24 to 136 inches wide. The telescoping rod featuring a flexible 1 to 9 feet extension range for precise customization, while the adjustable heavy-duty brackets offer a 2.5" to 3.5" wall clearance to prevent curtains from rubbing against the wall and improve light blocking. ( Important Note: To ensure safe shipping, this rod consists of 9 segments that require assembly. It is not a single or 2-piece pole.)

Adjustable Length: 32-150inch curtain rod fits windows from 16 to 142 inches wide.NOTE: comes with 9 rods that need to be screwed together.

Adjustable length: 32-114" curtain rod fits windows 24 to 106 inches wide. Its telescoping rod extends up to 9", and the adjustable thickened brackets allow the gap between the rod and wall to be adjusted from 2.5 to 3.5", preventing friction and enhancing light-blocking performance.(Important Note: To ensure safe shipping, this rod consists of 7 segments that require assembly. It is not a single or 2-piece pole.)
Pick a Length: Floating, Kissing, or Puddling
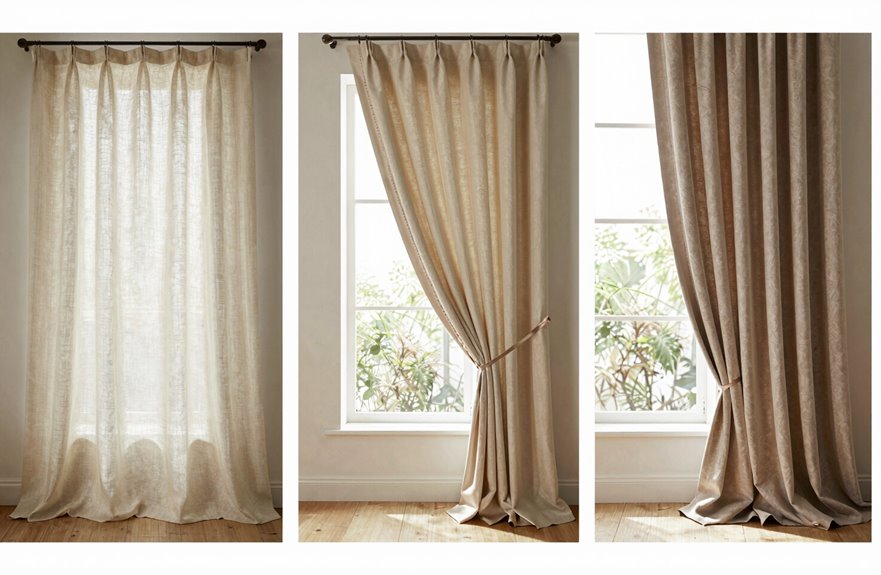
I’m excited to show you how curtain length transforms a room. Floating your curtains ½ to 1 inch above the floor makes them easy to open and close every day. If you want that sleek “kissing” look where fabric just barely brushes the floor, you’ll need to measure your rod-to-floor height with absolute precision. For pure drama, consider 3 to 6 extra inches of fabric pooling on your floor. Note that puddling collects dust and isn’t practical if you’re constantly adjusting your panels.

𝐂𝐨𝐫𝐫𝐨𝐬𝐢𝐨𝐧-𝐏𝐫𝐨𝐨𝐟 𝐅𝐥𝐞𝐱𝐢𝐛𝐥𝐞 𝐀𝐥𝐮𝐦𝐢𝐧𝐮𝐦: Jos & Haz commercial-grade flexible curtain track is 10X stronger than cheap plastic and engineered to support up to 33 lbs without sagging or cracking . Safe for indoor wet areas or as an outdoor curtain track on patios and decks. Features a heavy duty curtain track core that easily shapes into a curved ceiling curtain track, or custom layout without sacrificing structural strength.

1.【HIGH QUALITY ROOM PARTITION TRACKS】: The wall mounted curtain track system is made of aluminum alloy, sturdy and waterproof. Ensure durability.
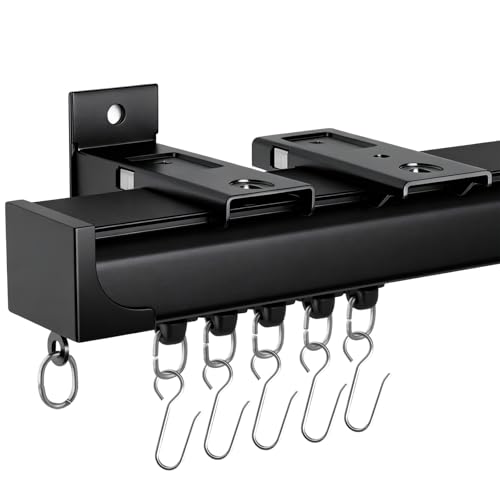
[Durable And Stable]: This heavy-duty curtain track is made of high-quality materials and has the characteristics of being sturdy and durable, making it more suitable for long-term use. Curtains rails is not easily bent or deformed, and the track can provide better support. Meet the curtain effect you expect. This curtain track system has track options of different lengths, so you can choose the appropriate product according to your space needs. Provides greater flexibility and uniqueness for your window treatment.
Floating Length Benefits
I almost always start with floating length when helping someone pick curtains. Float length keeps your drapes hovering just 0.5 to 1 inch above the floor with no dragging and no fuss. You’ll slide panels open and closed without that annoying fabric resistance. Measure from your curtain rod down to that sweet spot, and you’ll achieve the ideal fit. It works with any window frame height. Unlike puddle length, which collects dust and requires frequent cleaning, floating stays fresh and practical. It visually lengthens your walls without creating a tripping hazard. For everyday living with kids, pets, and busy mornings, floating length is the practical choice. It’s simple, clean, and delivers a polished appearance.
Kissing Floor Precision
Floating works great, but maybe you’re after something that looks a little more finished without going full drama queen. Kiss length delivers that tailored, custom feel.
Curtain height changes everything. Mount that rod ½ to 2/3 above your window frame, and you’ll instantly stretch your ceiling upward. Rod placement is only half the battle; you need floor precision to nail this.
Grab your tape measure because kiss length means your fabric barely grazes the floor. We’re talking maybe ¼ inch clearance, max. Too high and you’ve got awkward daylight peeking through; too low and you’re officially puddling. Measure twice, hang once. This approach ensures your drapes look intentionally tailored rather than accidentally misaligned.
Puddling Style Impact
If you’re craving that “I just stepped into a boutique hotel” vibe, puddling delivers exactly that effect. This styling approach creates visual impact in your space.
What you need to know about achieving puddling style:
- Add 3–6 extra inches of fabric pooling on the floor for maximum drama
- Choose high-quality fabric like washed linen or velvet; cheap materials look sad and limp
- Plan for longer floor length panels (95 inches or more) to get that lush pile
- Expect some hem adjustments since ready-made curtains rarely puddle perfectly right out of the package
- Skip high-traffic areas unless you enjoy vacuuming your drapes
Puddling isn’t practical for windows you’re opening daily. For formal living rooms or bedrooms, it creates a luxurious aesthetic that justifies the maintenance requirements.
Choose Your System: Tracks, Rods, or Renter-Friendly Brackets
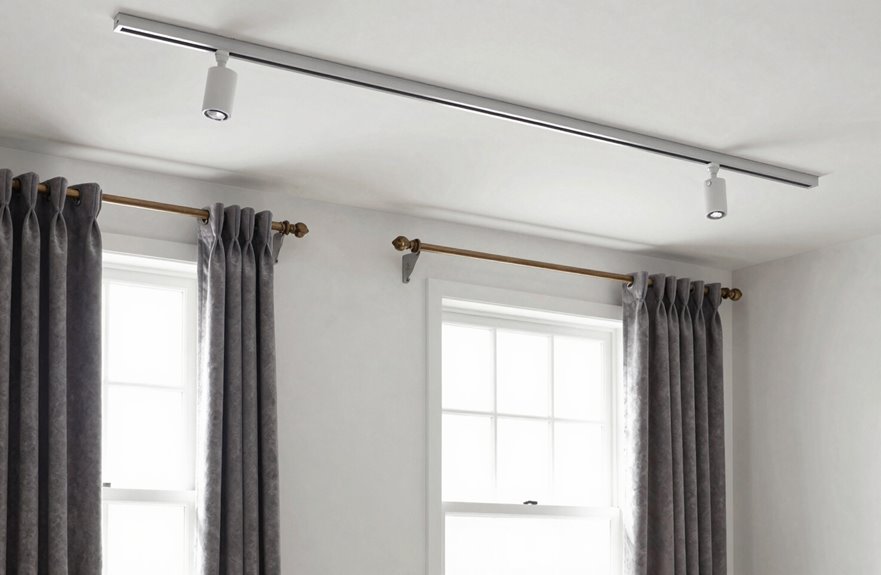
Your window deserves better than a bedsheet and a prayer. I’ve tested all three tracks, rods, and renter-friendly brackets installation methods, and each brings something special to your space.
Let’s get real about what works where.
| System | Best For |
|---|---|
| Tracks | Crisp, modern looks and easy gliding |
| Rods | Traditional style and flexibility |
| Renter-Friendly Brackets | Speed and zero stress |
Tap Brackets stand out: 3-5 taps per side and you’re done in under 10 seconds. Command strips work too but cap at 10 pounds, so avoid overloading your curtains. Tracks need brackets every 2-3 feet, while rods stretch 3-4 feet apart. Pick your system and install accordingly.


VALUE 2-PACK: Includes 32 pairs (64 strips) of Command Medium (10 lb) Picture Hanging Strips—stock up for gallery walls, multiple frames, and seasonal décor.

DAMAGE-FREE PICTURE HANGERS: Includes 16 pairs (32 strips) of White Command Medium (10lb) Picture Hanging Strips, unique hassle-free wall hangers for hanging pictures without nails or damage
Install Wall-Mounted Hardware Step by Step
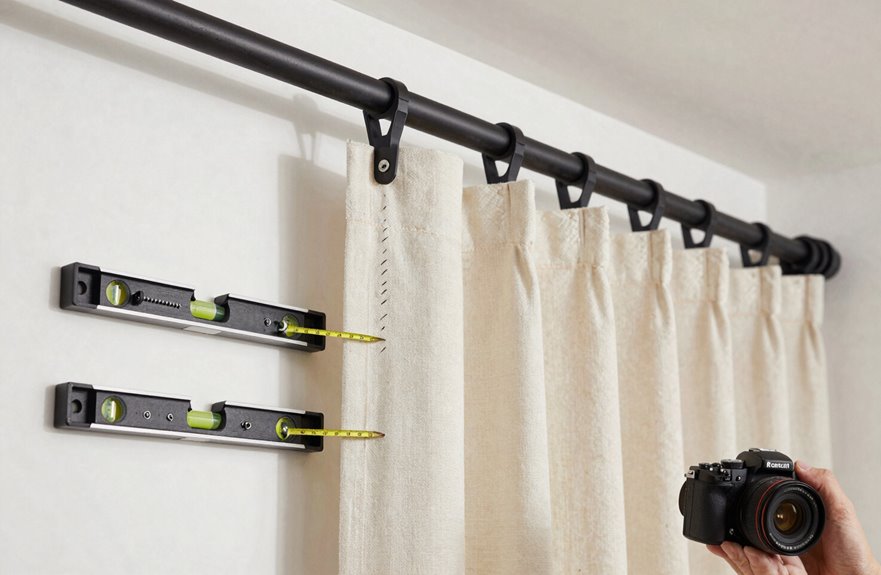
Once you’ve picked your system, it’s time to get that hardware on the wall. I’m going to walk you through it so nothing ends up crooked or wobbly. I always start by measuring my total curtain rods width, then I map out bracket placement about 4-6 inches past the window frame. This extra width makes your window look larger.
Get that hardware on the wall right—measure your rod width, mark brackets 4-6 inches past the frame, and keep everything level so nothing ends up crooked or wobbly.
Here’s my foolproof checklist:
- Measure rod width and add 8-12 inches for that luxe, extended look
- Mark bracket locations with a pencil; measure twice, drill once
- Drill pilot holes so your screws bite in clean and tight
- Use a level on every bracket so nothing tilts
- Secure wall-mounted hardware before sliding on your curtains
Double-check your window type matches your hardware, then install those brackets. The process is straightforward and manageable.

Will this fit my blinds? These over blinds curtain rod brackets are designed as an outside mounted blinds curtain rod bracket for rectangular blind headrails measuring 1.3–2 inches wide. This blinds curtain rod bracket / blind curtain rod bracket supports curtain rods up to 1 inch in diameter. Measuring your headrail before ordering helps avoid fit issues and unnecessary returns when choosing brackets for curtain rods over blinds.

Adjustable & Versatile Design:Our Outside Mounted Blinds Curtain Rod Bracket Accessories feature a 1.3"-2" width adjustment range, compatible with curtain rods up to 1" diameter. The Curtain Rod Bracket securely holds both lightweight and heavy curtains for versatile styling options
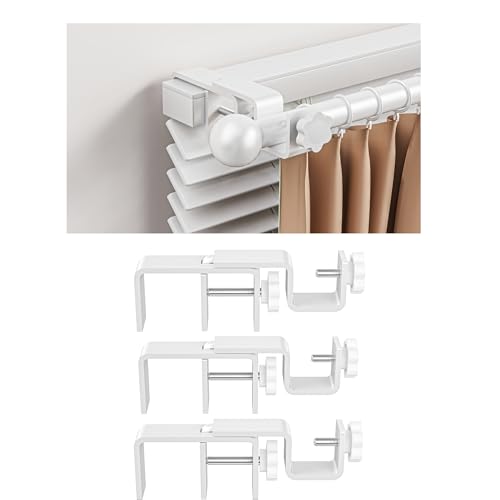
Will this fit my blinds? These over blinds curtain rod brackets are designed as an outside mounted blinds curtain rod bracket for rectangular blind headrails measuring 1.3–2 inches wide. This blinds curtain rod bracket / blind curtain rod bracket supports curtain rods up to 1 inch in diameter. Measuring your headrail before ordering helps avoid fit issues and unnecessary returns when choosing brackets for curtain rods over blinds.
Hang No-Drill Options That Actually Hold
Not everyone wants to drill holes in their walls. Tap Brackets work well for no-drill installation. I position them at the top corners of my window frame and tap 3–5 times per side. The pre-attached nail bites in, and I’m hanging curtains in minutes.
At about $16, they’re reusable and leave only tiny holes that landlords typically don’t notice. I always check my window frame integrity first because crumbly wood won’t hold. I’m also careful about curtain weight; these handle light to moderate loads best, not heavy blackout panels. The trade-off is no height adjustment after tapping. For quick, renter-friendly style, this solution delivers.

Adjustable length: 32-114" curtain rod fits windows 24 to 106 inches wide. Its telescoping rod extends up to 9", and the adjustable thickened brackets allow the gap between the rod and wall to be adjusted from 2.5 to 3.5", preventing friction and enhancing light-blocking performance.(Important Note: To ensure safe shipping, this rod consists of 7 segments that require assembly. It is not a single or 2-piece pole.)

【Adjustable Length】 The spring tension rod adjusts smoothly from 32 to 80 inches to fit most standard bathrooms. Its telescopic design allows perfect positioning without gaps.

【Packing Specification】: This package includes one tension rod, designed with a flexible range of 24-46 inches. For optimal fit, we recommend using it within the specified 24-46 inches range.