
I start by shaking my wool rug outside and beating it with a broom handle to loosen dirt, then vacuum both sides slowly.
Next, I soak it with a gentle garden hose shower until it’s fully drenched (wool holds 30% of its weight in water, so it gets heavy).
I mix about ¼ cup castile soap per gallon of water and gently rub with a clean cloth, rinse until water runs clear for an extra 10-15 minutes, then dry in shade while flipping every few hours.
Once completely dry, I vacuum to fluff the pile.
Shake, Beat, and Vacuum Your Wool Rug First
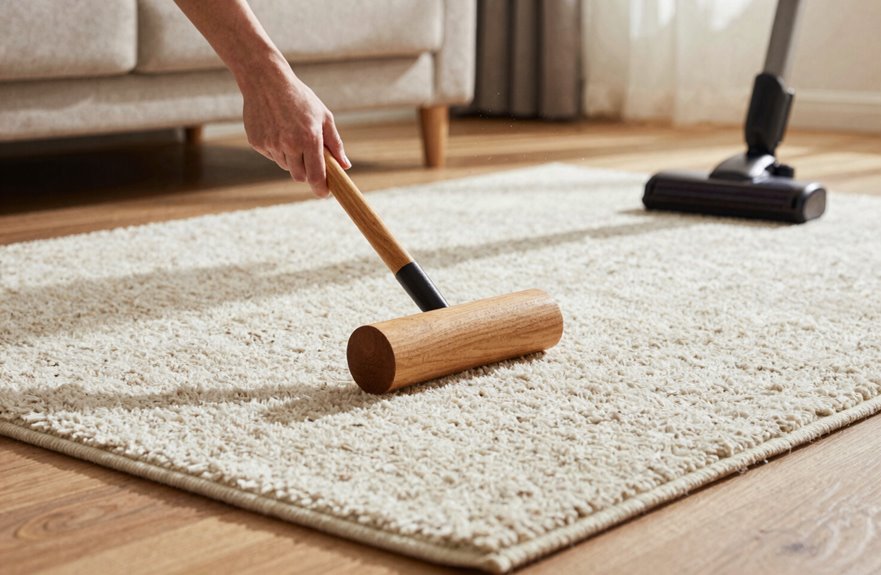
So, how do I actually start cleaning a wool rug without wrecking it? I take it outside and shake it hard. Then I beat both sides with a broom handle, whack after whack, to knock loose all that hidden dirt. If I’ve got a clothesline or fence, I hang it up and really go to town. It’s satisfying to see the dust come out.
Next, I vacuum the top surface slowly. I’m talking snail pace here, because those wool fibers are delicate and I don’t want to rough them up. I turn off the rotating brush if my vacuum has one. Then I flip that rug over and vacuum the underside too. Dust hides everywhere. For stubborn pet hair, I grab a soft-bristle brush, loosen it up, and vacuum again from different angles. This approach removes embedded debris effectively.
Soak Your Wool Rug Without Damaging the Fibers
Spread your rug outside on a clean driveway or patio, making sure you’ve got space to work. Then grab your garden hose and set it to a gentle shower or sprinkler setting, nothing too aggressive. Thoroughly saturate every inch because wool fibers hold so much water, around 30% of their weight.
Keep soaking until the rug is completely drenched without rushing this part. If your rug is huge, grab a friend to help you manage the weight; wet wool gets heavy fast. Use a soft cloth to press gently, but never scrub hard since that causes shrinkage. The soaking process is crucial for loosening deep dirt without stressing those delicate wool fibers.
Apply Wool-Safe Soap and Gently Work Out Dirt
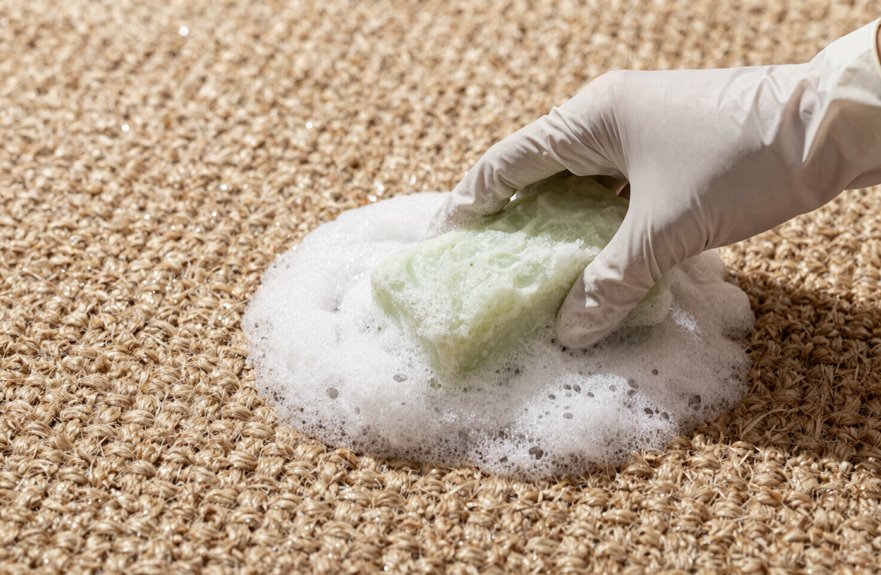
Why guess at the right cleaner when I’ve got the perfect mix ready for you? I mix about a quarter cup of castile soap into one gallon of water. That’s my wool-safe cleaning solution.
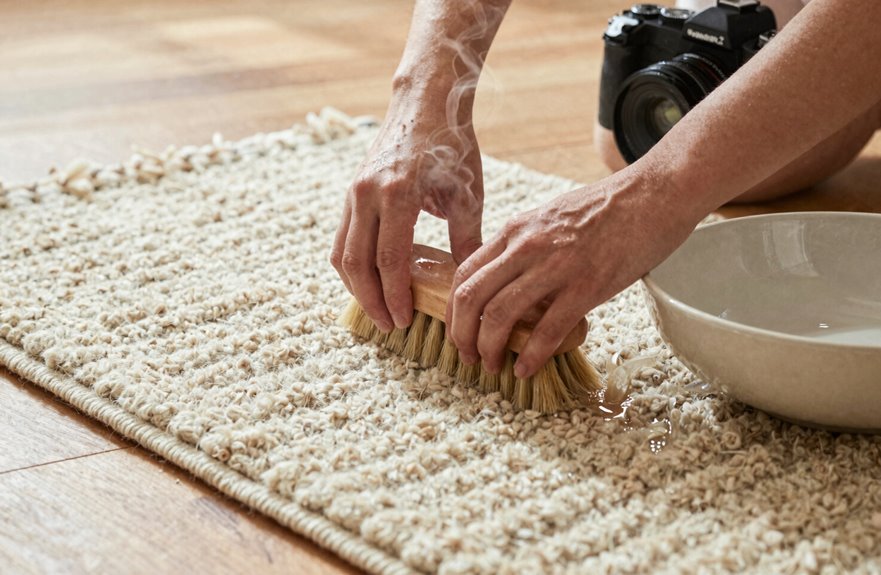
Start here. I grab a clean cloth and gently rub the wool fibers to work out debris and hairs. No vigorous scrubbing, as that will shrink your rug. For stubborn stuff, I use a soft-bristled brush to loosen embedded dirt and pet hair.
| Tool | What It Does |
|---|---|
| Clean cloth | Lifts surface dirt gently |
| Soft-bristled brush | Loosens embedded hair and grime |
| Castile soap mix | Cleans without damaging fibers |
I reapply my cleaning solution as needed, then hang the rug over a fence or line to drain. The water will run clear when the rug is clean.
Rinse Your Wool Rug Until Water Runs Clear
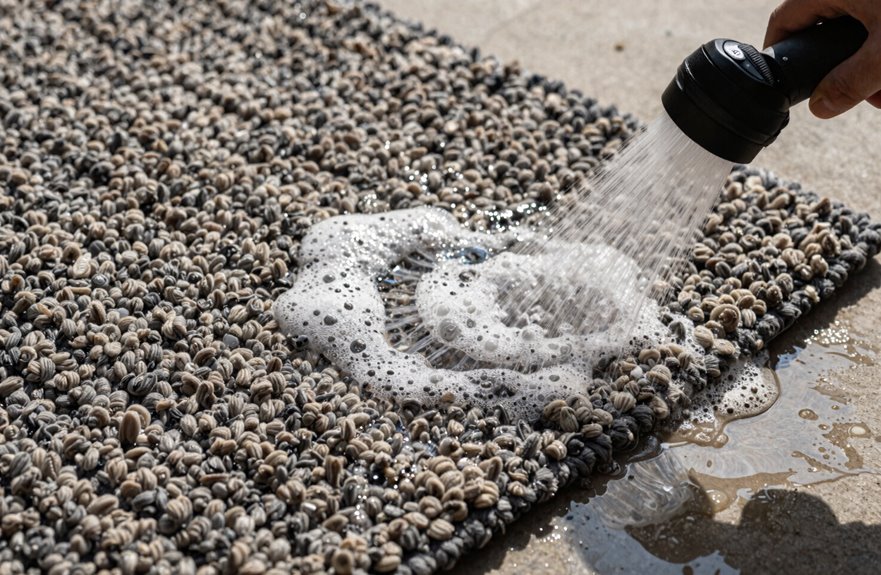
I’ve worked that soap through every inch of the rug, and now it’s time to get it all out. I’m grabbing my garden hose and heading outside to a spot with good airflow. My driveway works perfectly. I’m wetting the rug thoroughly again, starting this rinsing process with full attention. I’m spraying water across the surface and watching what happens. Suds appear at first, but I keep going. I’m checking the runoff and won’t stop until that water runs completely clear, then rinsing for another 10-15 minutes to ensure proper soap removal. I’m lifting edges and spraying underneath too. I’m being thorough because any leftover soap attracts dirt later, and this prevents that problem.
Dry Your Wool Rug Completely to Prevent Mildew
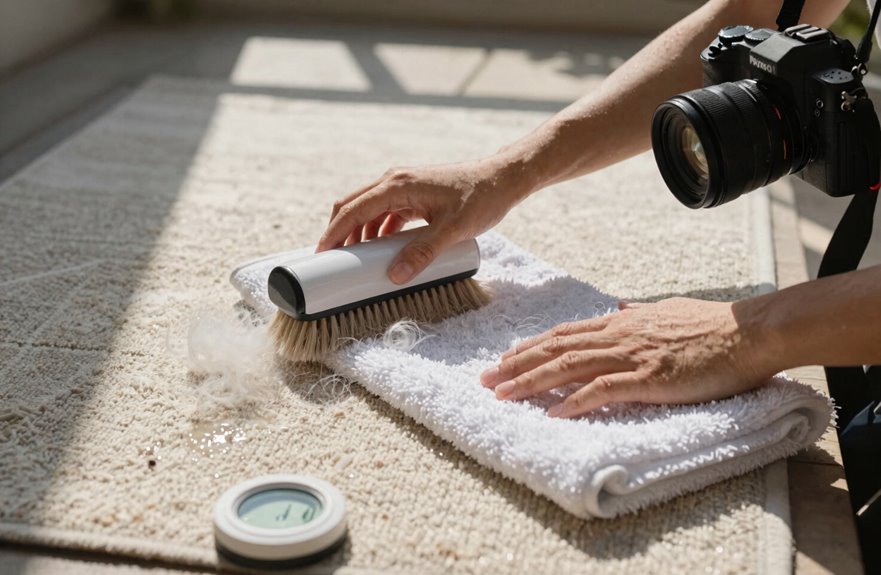
I always start by draining every drop I can. I’ll press down with clean towels or even walk on them (barefoot, of course) until they stop soaking up water. Then I haul my rug outside and find a nice shady spot, because direct sun fades colors. Once it’s flattened out, I’ll flip it every couple hours and keep checking. I’ll feel deep into the pile and peek at the backing because bringing even slightly damp wool inside creates conditions where mildew will develop.
Drain Excess Water Thoroughly
Three things matter most right now: getting that water OUT, keeping your colors safe, and making sure mildew never gets a foothold. Wool holds moisture like a sponge, and that’s trouble waiting to happen.
First, I tilt my rug at a steep angle and let gravity do the heavy lifting. I’ll prop it against a clean fence or deck railing for 30 minutes minimum. Then I grab my stack of white terrycloth towels, about 6 to 8 for a 5×7 rug, and blot, blot, blot. I press firmly and swap towels when they’re saturated. No wringing or twisting ever; that damages fibers.
The goal is to remove every drop I can before the real drying begins. This step prevents the musty smell that develops when moisture lingers in wool fibers.
Choose Shaded Drying Location
Where’s the perfect spot to finish this job? I always pick a shaded area with moderate sun, never direct, blazing light. That harsh sunlight fades your beautiful colors fast.
I love using my covered patio or any well-ventilated outdoor space. The airflow speeds up drying without risking damage. A clothes dryer is not suitable; that’s a disaster for wool. Skip the dryer entirely.
I lay my rug flat and let nature do the work. If edges feel damp, I lift them or rotate the whole thing so air reaches everywhere. Patience is essential here. Rushing leads to mildew and musty smells.
Once it’s completely dry, I’ll vacuum lightly to fluff the nap back up. Your rug will look splendid and smell fresh.
Ensure Complete Dryness Indoors
How long should you wait before bringing that gorgeous rug back inside? I wait until it’s completely dry, no exceptions. Wool holds moisture like a sponge, and I’ve learned the hard way that rushing this step invites mildew and that awful musty smell nobody wants in their home.
I check dryness by pressing my hand deep into the fibers. Still damp? Back outside it goes. In humid weather, my thick 8×10 wool rug needs two full days sometimes. I use a fan nearby and flip it every few hours for even drying.
Once dryness is absolute, I give it one last vacuum to fluff everything up. Then I bring my beautiful rug inside. Your cozy space will benefit from this patience.
Fluff the Pile to Restore Your Wool Rug’s Texture
Once your wool rug is completely dry, you’re ready to restore its fluffy, cloud-like texture.
Vacuum the rug once more using light, even strokes. This lifts the fibers and begins the fluff process. Then work in sections, gently lifting the pile by hand to prevent matting and encourage even texture.
Use a soft-bristle brush on both sides before vacuuming. This enhances volume significantly. Over-wetting collapses the nap, so ensure the rug is completely dry before proceeding.
Finish with one last light pass of the vacuum to refresh brightness and restore uniform pile appearance. The rug will look brand new.
When Professional Cleaning Beats DIY for Wool Rugs
I’ve learned that sometimes my best DIY efforts just aren’t enough for my wool rugs. When I’m staring down a delicate heirloom or a stubborn red wine stain at 9 PM on a Tuesday, I need to consider the time and effort trade-offs. That’s when calling in the pros becomes the practical choice, because saving my rug and avoiding hours of frustrated effort beats handling it myself every single time.
Delicate Rug Preservation
Caring for a treasured wool rug sometimes means knowing when to hand it off to the pros.
Deep cleaning delicate fibers requires special tools that aren’t available at home. Professional cleaners use advanced equipment and wool-safe solutions that remove dirt, allergens, and stubborn stains. They rinse and dry rugs in climate-controlled spaces to prevent mold and mildew.
Vintage pieces or rugs with fragile threads require expert hands. Regular professional maintenance extends a rug’s life significantly beyond vacuuming alone. When stains won’t budge, odors linger, or heavy soiling is visible, local services like Stanley Steemer provide the necessary care your wool rug deserves.
Time and Effort Trade-offs
Let’s be real—I love a good DIY project, but some days I just don’t have four hours to wrestle with a wool rug in my driveway. We’ve all been there, right? That’s when I call in the pros.
Professional cleaning offers superior results. They’ve got serious equipment that lifts dirt and allergens my little machine can’t touch. Plus, their climate-controlled drying prevents mold, shrinkage, and damage. For my big 8×10 wool beauty or seriously stained pieces, I’m handing it over.
Yes, it costs more upfront. Regular professional cleaning actually saves me money by extending my rug’s life way beyond vacuuming alone. The smartest DIY move is knowing when to NOT do it yourself.