I’m going to show you five ways I transformed my kitchen cabinets without demolition. First, I’ll walk you through painting with Benjamin Moore Advance, including sanding, priming, and working section by section for a professional finish. Then we’ll compare refacing, which involves new veneer, versus replacing doors entirely; both options save thousands compared to full remodels. I’ll add crown molding for instant elegance, swap upper cabinets for open shelving or glass panels, and extend everything to the ceiling with a header board to achieve that custom built-in look. Each method includes exact products and measurements based on what I learned during the process, so you can avoid the mistakes I made. Continue reading and you’ll discover the specific techniques that impressed my friends enough to ask if I had hired a designer.
Paint Cabinets: Proper Prep, Products, and Finish for Durability
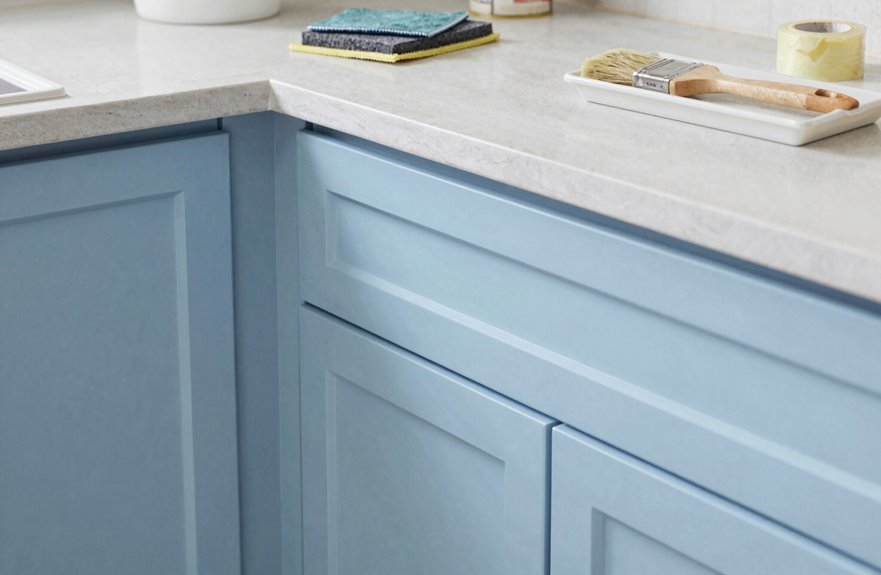
Why do painted cabinets look so stunning when they’re done right? Because you’ve joined the club of people who know the secret.
Start with proper prep: doors off, hardware removed, everything clean. Lightly sand, then roll on a quality primer. Don’t skip this step. Primer seals the surface and gives cabinet enamel something to grip.
For paint, use Benjamin Moore Advance or Sherwin Williams Urethane Enamel. These aren’t regular wall paints; they’re made for cabinets and cure rock-hard. Work area by area for even coverage.
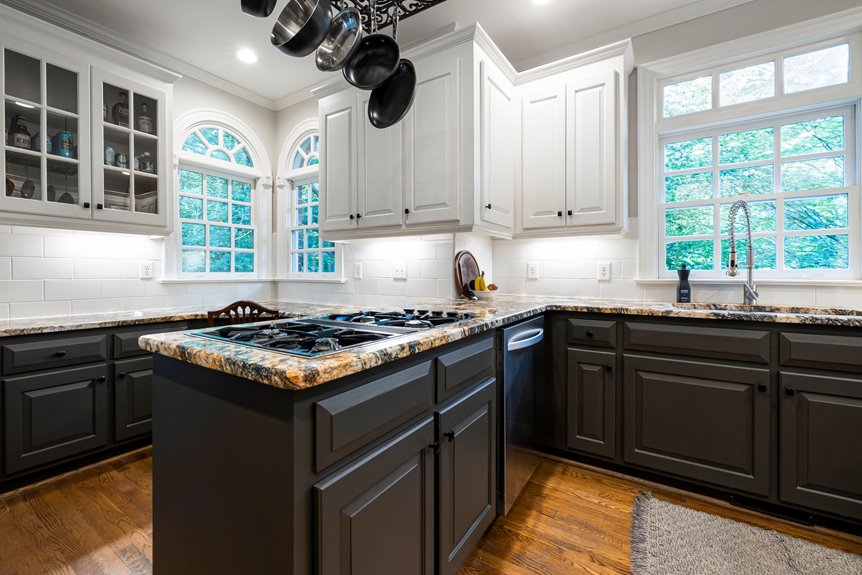
Consider a two-tone look for extra visual interest. Paint lowers navy and uppers white, or make your island pop. Add hardware updates and your kitchen will look professionally designed.
This DIY transformation costs significantly less than new cabinets while providing durability that lasts for years.

CABINET TRANSFORMATION: Refresh outdated cabinets, vanities, furniture and trim with rich Pure White color and a smooth semi-gloss finish
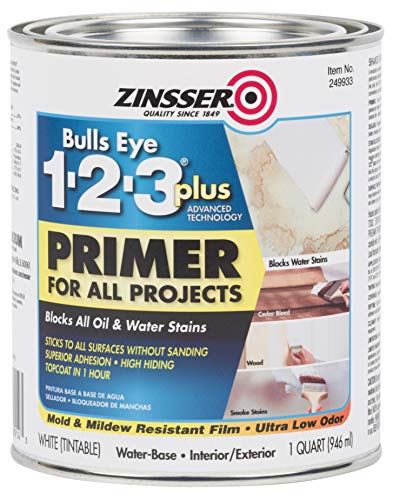
The product is QT INT/EXT LTX Primer

Interior/Exterior use on new or previously painted drywall, concrete, wood, masonry, metal and glossy or difficult surfaces
Compare Refacing vs. Replacing Doors and Drawer Fronts
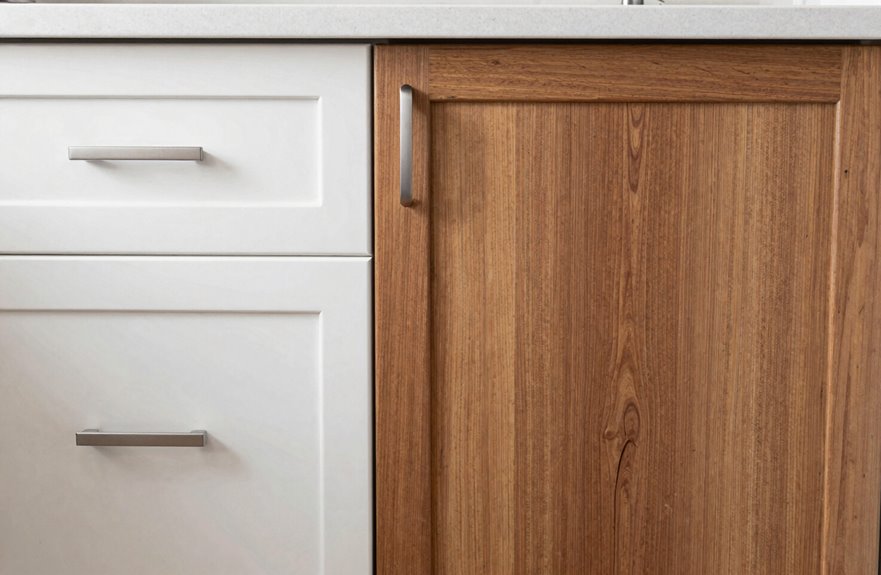
So refacing your cabinets or swapping out just the doors and drawer fronts can completely transform your kitchen without tearing everything out. This DIY update keeps your existing cabinet boxes but gives you that “new kitchen” feeling.
Give your kitchen a fresh new look without the demolition—just reface or replace the doors and drawer fronts.
Here’s how I break down refacing vs replacing:
- Refacing means applying new veneer to your cabinet doors and drawer fronts. Companies like Nieu Cabinet Doors for Hacienda make this super doable.
- Replacing gets you custom doors and drawer fronts that fit your existing frames perfectly, though it’s the bigger investment.
- Both options pair beautifully with updated hardware and other touches for a cohesive, high-end look.

【1mm Thick Material】 High quality thicken stainless steel material will not easy to rust and deform, it's firm and reliable, the edge wouldn't hurt your fingers, so you can use it with peace of mind. More attractive and long-lasting and the bearing capacity is stronger.

MEASUREMENTS: Measurements are EXACT. This replacement raised panel kitchen cabinet door measures 24-inches Wide, 12-inches high, and 3/4-inches thick

Package Includes: you will receive 3 pieces of wooden hinge repair plates and 6 pieces of double sided tapes in a package, which can be applied for you to use, easy and convenient
Add Crown Molding and Trim to Elevate Flat Surfaces
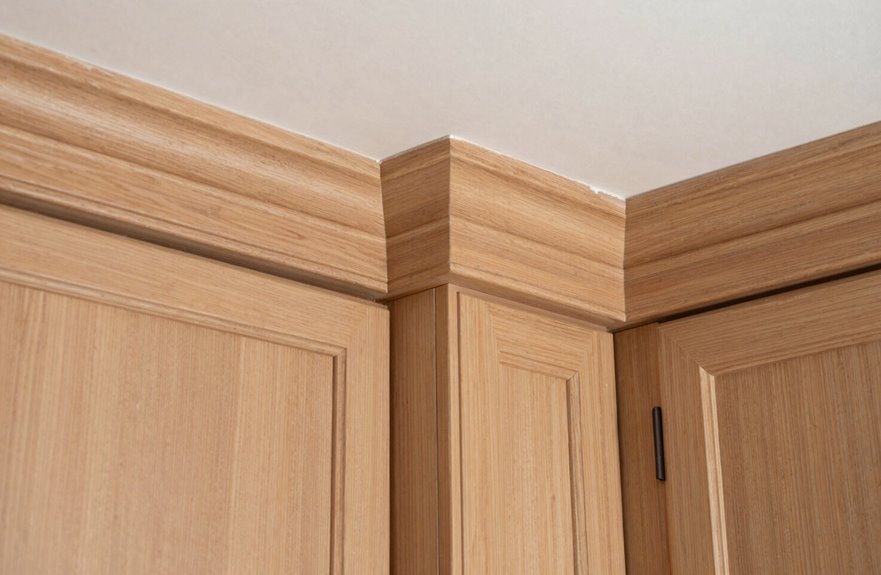
Ever wondered how those fancy kitchens get that polished, built-in look without costing a fortune? Crown molding is the answer.
To transform kitchen cabinets from basic to beautiful, start with pine boards and a miter saw. Measure your flat surfaces, cut your crown molding at 45-degree angles, and attach those pieces with a nail gun every inch or two for a secure fit with no wobbles.
Add decorative trim next. Corner pieces, base molding, and light rail underneath all contribute to the finished look. You can choose curved profiles or egg-and-dart motifs for that Greek vibe. This combination elevates your space, whether you’re using a farmhouse or modern style.
When friends ask who you hired, you’ll know the answer is you. This project delivers professional results through proper technique and attention to detail.

Quantity & Accessories: Each hinge comes with four 15.5mm mounting screws. For easy installation, a installation instructions specifically designed for these cabinet door hinges is also included

Easy to Install: Match your old hinge pattern. Perfect for old hinges replacement. Screws were included.

★⚠⚠⚠ Important Note: For FACE FRAME cabinet, the hinges will overlay 1/2" of the frame. For FRAMELESS cabinet, the hinges will overlay 1/2" of side panel. The video on the product page can help you check if the hinge you need is a 1/2". Size: 35mm Cup, 1/2" Overlay. Not sure about the size? Try our 2-pack first to check the fit before buying larger sets. If you're uncertain about the appropriate size before ordering or encounter problems during installation, please reach out to us. We're here to help!
Convert Upper Cabinets to Open Shelving or Add Glass Panels
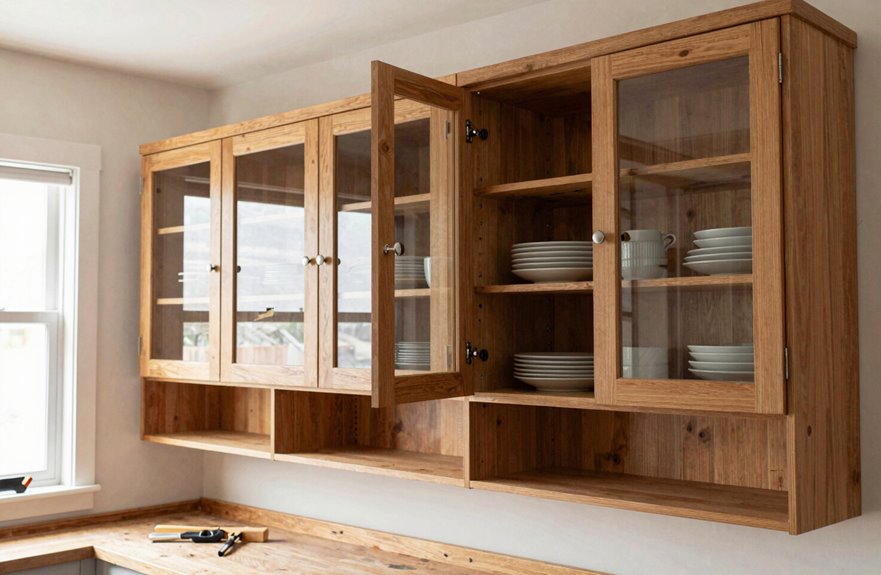
Once you’ve nailed down that crown molding, you can tackle your upper cabinets with two effective options. You can swap some upper cabinets for open shelving to display your favorite dishes, or add glass panels to existing doors. Both approaches make your space feel bigger and brighter without a full gut job.
Swap upper cabinets for open shelving or add glass panels to make your kitchen feel bigger and brighter without a full renovation.
For doors removal, unscrew the hinges carefully and fill those holes with wood filler. Paint the boxes in a paint color that matches your walls for that seamless, cohesive look. New cabinet hardware pulls everything together.
- Remove cabinet doors and patch hinge holes with Minwax Wood Filler
- Paint interior boxes with Benjamin Moore Advance in your wall color
- Install glass panels using 1/4-inch tempered glass and silicone adhesive
Balance open sections with closed storage so your DIY renovation feels intentional rather than chaotic. Under-cabinet LED strips complete the transformation by providing task lighting and visual interest.

The Right Cut: Beautiful, seamless-fitting crown molding takes the guesswork out of crown molding


NO MATH REQUIRED FOR PERFECT ANGLES: The aluminum protractor’s inner Miter Cut scale instantly gives the exact setting needed for corner joints, eliminating guesswork, calculations, and the waste of expensive trim material
Extend Cabinets to the Ceiling for Built-In Character
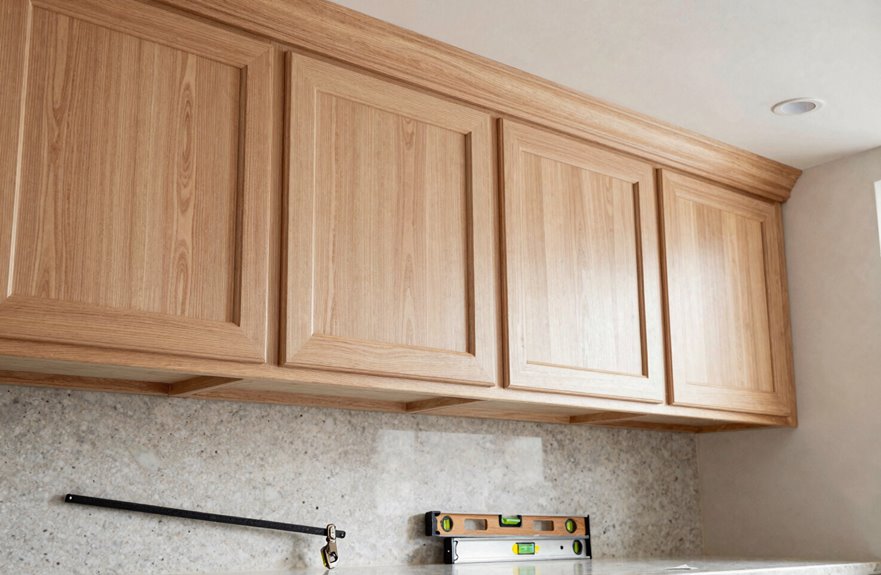
Taking your cabinets all the way to the ceiling is one of my favorite tricks for making a kitchen look expensive without the custom price tag. You can totally update kitchen cabinets without replacing them by extending upper cabinets upward. It’s easier than you’d think.
Ceiling-height cabinetry instantly fills that awkward gap above standard cabinets. You’ll want to add a header board (I use 1×6 or 1×8 pine) and decorative panels on the sides for that built-in character everyone craves. Cabinet surrounds work wonders too. Frame your fridge with plywood panels like I did in my friend Sarah’s kitchen, inspired by the Riverside Retreat method using IKEA bases.
Balance matters. Mix in open shelving on top or keep it solid. Just watch your lighting so things don’t feel top-heavy.

Convenient Cabinet Door Hinge: Mount your pullout baskets to your kitchen cabinet door for 1-step opening and closing

Improve the storage capabilities of wall or base cabinets with these u-shaped cookware organizers; Easily view what you have and keep nice bakeware from getting scratched while stored

Maximize Storage Capacity: The extended length and multi-tier design of the shelf track help you expand storage space with ease, ideal for organizing and displaying a variety of items.