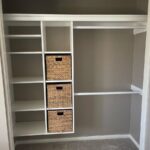

A finished closet system built from plywood or MDF runs about $450 in materials and one solid weekend, but the stage most people rush is the base.
Remove the carpet underneath it, level the 2×4 frame directly on the subfloor, and the whole unit stays square for years. Skip that, and even perfect wall units settle unevenly as the carpet compresses.
1. Design the Closet

A reach-in closet usually gives you one wall to work with, and the standard depth that keeps hangers from scraping the door jamb is 24 inches from back to front.
Rod height depends on what hangs there: 42 inches for shirts, 70 inches for dresses, and a double-rod setup puts the lower bar at 40 inches with the upper at 80. Walk-ins change the math entirely.
You gain perimeter walls and sometimes enough floor space for a corner unit or a narrow island with drawers, but I would skip the island unless you have at least 36 inches of clear walkway on all sides.
I start every layout by listing what actually lives in the closet. Long coats need 60 inches of single hang.
Folded sweaters want 12-inch-deep shelves, while shoes work at 6 to 8 inches per pair. If the closet holds more shirts than suits, a double-hang section doubles your rod length in the same footprint.
Adjustable shelves and rods are worth the small premium because wardrobes shift; the wire system that fits your winter boots looks wrong when you swap in sandals and folded tees.
The choice between walk-in and reach-in is rarely a real choice. Most bedrooms hand you a reach-in by default, and the better use of your weekend is maximizing it floor-to-ceiling rather than mourning what you do not have.
For a walk-in, the win is using corners with dedicated shelving instead of letting them become dead space where wire racks overlap.

CLOSET ORGANIZER SYSTEM: All in one wire closet shelves kit that creates up to 96 in. of hanging space and 144 in. of shelf space; Kit includes hang track, standards, shelf brackets, closet rods, closet rod support and SuperSlide shelves

Simply Modern, Seamless Fit: The CUSTOS Collection pairs crisp right‑angled lines with handy open storage to create a minimalist look that fits easily into your home. Complete your space with matching storage furniture for a cohesive look
2. Remove Existing Shelving

Wire shelving leaves more damage than most people expect, and the anchors are usually the worst part. I pull the shelf, the brackets, and every plastic or metal anchor out of the wall, even the ones that look harmless.
Patch every hole with spackle before you do anything else, because paint and new hardware both need a smooth surface. Let it dry, sand it flush, and prime if you’re repainting the whole closet.
Baseboards have to come off next if your new built-ins will sit against the wall.
I score the caulk with a utility knife, then work a trim puller behind the molding and pry gently. Save every piece; labeled painter’s tape on the back keeps the order straight for reinstalling later.
With the walls bare, I check what I’m actually working with. Tapping for studs comes after the spackle is sanded, not before, or the filler will throw off your finder.
Old closets often have surprises: crumbling drywall corners, uneven framing, or a previous owner’s shortcut that only shows up once the shelves are gone. Fix it now, while the space is empty, and the installation stays simple later.

【Upgrade Adjustable Width & Height】The width range is from 17 to 29 inches, and the height range is from 14.6 to 37.1 inches. The user-friendly design has six adjustable heights, which can maximize the unused space beneath hanging clothes. Dimensions: 37.1"H x 29"W (Fully Expand)
Instantly Double Your Storage: Transform unused vertical space into a second tier to maximize capacity in small closets, dorms, and apartments

Instantly Double Your Storage: Transform unused vertical space into a second tier to maximize capacity in small closets, dorms, and apartments
3. Build the Base

A base frame built from 2x4s gives the whole closet its foundation and keeps the finished storage from looking like furniture that wandered in from another room.
I run the frame the full length of the closet and add cross members where the vertical panels above will land; this lets the weight of shelves and hanging clothes transfer straight down instead of flexing the floor.
On carpet, removing the carpet under the base is necessary, not optional.
The 2×4 frame sits directly on the subfloor, leveled with shims and secured to wall studs at multiple points. Without this step, the carpet compresses over time and the units settle unevenly.
The raised base also creates a clean line where flooring meets storage; I cut back luxury vinyl plank with an oscillating tool right to the frame edge, and the result reads as intentional build rather than afterthought.
With a standard 8-foot ceiling and a 2×4 base, the maximum unit height lands around 91¾ inches. I cut vertical panels ¾ inch shy of that to make installation workable.

【Space-Saving】The L-shaped configuration is specifically designed for corner spaces, maximizing storage in tighter spaces. Clothes rack holds a lot of clothing while taking up minimal floor space, so you're utilizing vertical space efficiently. It's perfect for tight bedrooms, walk-in closets, apartment, dorm or other small space

【Upgrated Corner Closet System with Shelf for Small Corner】 Maximize Your Corner Space, with 2 spacious clothing rods, top Shelf and Side Shelves,which can store all your storage needs for your small corner space. Unlike typical narrow armoires, this system can holds up to 200+ pieces of summer clothing, allows you to easily stack folded clothes, store bags, and organize storage boxes or suitcases with ease.

【Strong Bearing Capacity】Dimensions: 156.8" L x 12.56" W x 84 "H. This multifunctional Walk-in Closet System streamlines your closet, load capacity up to 1000lbs, not easily deformed and wobble. below 4 detachable hanging bars that easily accommodates to the length and size of your garments. it is also perfectly combinable with standard chests of drawers up to 93 cm wide.
4. Cut and Assemble Closet Units
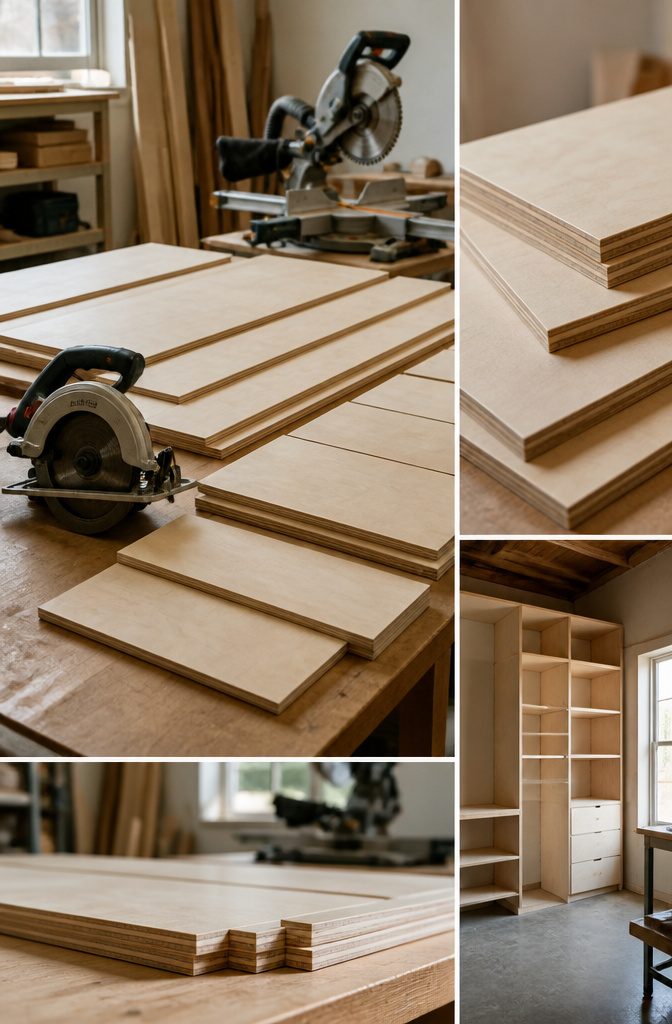
3/4 inch plywood or 4×8 MDF sheets are what most people reach for at this stage, and the choice between them matters more than the price tag suggests.
Plywood holds screws better and resists the dings and moisture that closets see over time. MDF costs less and cuts cleaner, which saves effort if your tools are basic.
For a closet that stays dry and sees normal use, MDF works. For anything near a bathroom or a kid’s room where bags get thrown, plywood wins.
Cut your vertical panels to the height of your ceiling minus 4 inches, and rip the depth to about 20 to 24 inches depending on what you need to hang.
Shelves get cut to the full width of your unit and whatever length fits your wall.
One owner on Reddit built his whole system for under $1,000 using 3/4 inch material for shelves and 1/2 inch for the sides, so mixing thicknesses is a legitimate way to save money where strength matters less.
Joinery is simple: wood glue on every edge, then screws driven through the outside of the vertical panels into the ends of the shelves.
A circular saw with a straightedge guide keeps your cuts square, which matters more than perfect factory edges. Check each shelf with a square as you go; a rack that leans now only gets worse once clothes load it down.
Two-inch screws or nails from the outside are standard, though screws let you back out a mistake and re-clamp.
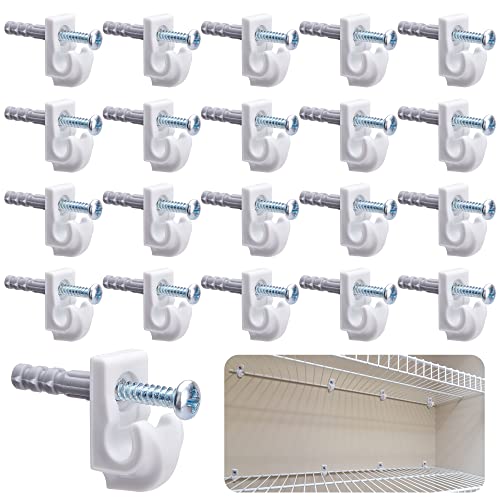
Durable material:The shelf clips are made of high quality plastic, they are strong and durable, don't worry about breaking and falling off, they can be used for a long time.

48-pack of ClosetMaid wall clips for wire shelving installation

Wall Clip Set (with Hardware Accessories): A set of shelf clips includes 25 white clips, 25 screws and 25 expansion tubes (75 parts in total). It comes with a beautiful storage box, and the quantity is enough for you to use and replace.
5. Install Closet Units
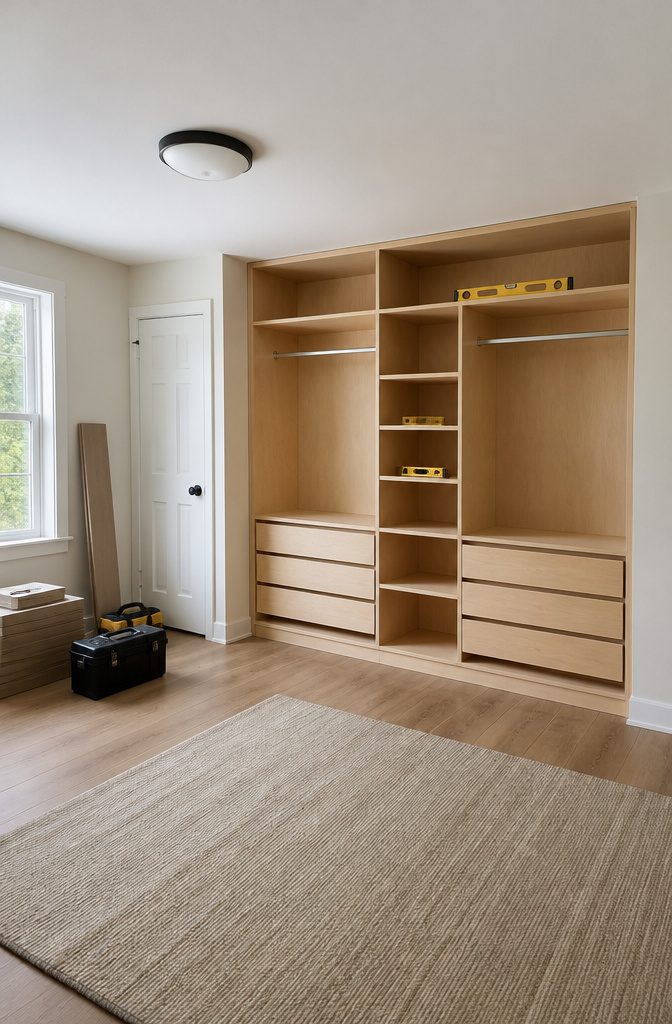
With the units assembled, the real work is making them behave like built-ins. I start by setting the first unit against the back wall and checking it with a level in both directions.
Most walls are not flat, so shimming behind the unit at the studs is usually necessary to get it plumb before any screw goes in. A gap that looks small now will read as a mistake once everything is trimmed.
I fasten through the back panel into each stud with construction screws, then move to the next unit and screw the face frames together so the seam stays tight.
Anchor to the floor if you want the unit rock-solid; skip it if your walls are plumb enough to carry the load.
Opinions differ. Some builders screw through the base into the floor for rigidity; others skip it and let the wall studs carry the load.
I anchor to the floor when the unit is tall or the wall is old plaster, but skip it on level floors with modern drywall and good stud contact.
Before the final tightening, I step back and sight along the fronts. A rail that bows even an eighth of an inch throws off every door and drawer that follows.
Fix it now with a longer shim or a slight adjustment in the screw depth. The extra five minutes saves an hour of trim carpentry later.

[1000 LBS Heavy-Duty Wood Construction] Stop worrying about sagging or collapsing racks. Crafted from premium solid wood, this robust 8FT closet system supports an incredible 1000 lbs capacity. It’s engineered to hold 350+ garments, including heavy winter coats and suits, providing a stable, wobble-free home for your wardrobe—far superior to flimsy metal poles.

CLOSET ORGANIZER KIT: Fixed mount closet kit has up to 120 in. of hanging space and up to 138 in. of shelf space

Simply Modern, Seamless Fit: The CUSTOS Collection pairs crisp right‑angled lines with handy open storage to create a minimalist look that fits easily into your home. Complete your space with matching storage furniture for a cohesive look
6. Add Shelves and Rods

Shelf pin holes drilled with a jig give you adjustability later, and I would take the extra twenty minutes every time.
Fixed shelves look cleaner but lock you into one layout, which is a problem when your coat collection grows or you switch to shorter hangers.
For rod heights, 42 inches works for shirts and folded pants, 70 inches for dresses and long coats.
A double-hang setup at 42 and 84 inches doubles your hanging capacity in the same footprint, which is the first thing I look for in a reach-in closet that needs to do more.
The top rod still needs enough clearance for standard hangers to slide on without catching the shelf above; a level matters here, because a tilted rod sends clothes sliding to one end by morning.
Rod brackets mount directly into the side panels or into a wall support board beneath the shelf.
The shelf above the rod does not technically need to be there, but it gives you storage for boxes and keeps the unit looking finished.
I attach shelves with pocket holes; 3/4 inch holes and 1 1/4 inch screws into the tower or wall supports hold fine for anything a closet sees.

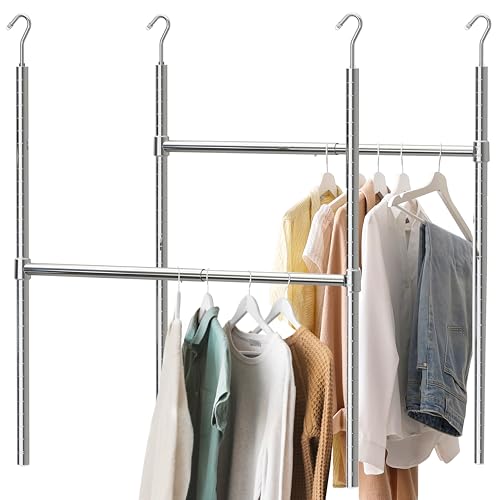
【Space Saving】- Hang the clothes hanging bar directly over your closet rod, adjusting the height and width to maximize your hanging space in the wardrobe.

Instantly Double Your Storage: Transform unused vertical space into a second tier to maximize capacity in small closets, dorms, and apartments

Stepless Adjustment Closet Rod: The upgraded Supforce closet rod features the stepless adjustment design, allows you to precisely adjust according to your closet's specific size; Without any size gaps, No manual cutting is required.
7. Install Drawers

Drawers eat time, but they earn it back every morning you don’t dig through a stack of folded shirts.
I skip them in reach-in closets where the opening is shallow, but in a walk-in with depth to spare, three drawers at 20 inches wide and 6 inches tall work well for socks, undergarments, and workout gear.
That 20-inch width assumes you’re using bottom-mount slides that need a half-inch clearance on each side of a 21-inch opening, and the 6-inch height comes from dividing a 24-inch opening by three, then subtracting two inches for slide hardware and finger room.
Install the slides to the drawer box first, then mount the matching hardware inside the cabinet. A strip of three-quarter-inch plywood flush to the face frame gives the side-mount portion something level to bite into.
The drawer front itself should match your face frame trim exactly; I build mine from quarter-inch plywood skinned with lath strips, tested dry in the opening before glue ever meets clamp.
Playing cards make better spacers than old blinds because they compress evenly and let you nudge in 1/32-inch increments.
Open shelving wins on speed and cost. Drawers win when you want the closet to replace a dresser and you are willing to spend the extra Saturday.

【Boutique-Style Purse Display】Turn your handbag collection into a clean, beautiful display. The open shelf design keeps purses upright and visible, so your favorite bags are easy to see, choose, and grab before heading out.

【Adjustable Width】 : This closet rack measures (68"-100")W x 14"D x 76.5"H. The width of the expandable closet rod and shelf can be adjusted in 1-inch increments between 68" and 100" to perfectly fit the dimensions of your room. This closet shelving system supports both straight and L-shaped installation configurations. The straight layout is particularly suitable for built-in closet, bedroom, laundry room, and college dorm, while the L-shaped layout is ideal for walk-in closet and bedroom corner. The corner closet rod is both convenient and stylish, making perfect use of corner space. When adjusted to the perfect fit, this L shaped closet organizer system keeps your room neat and attractive

👗【2-in-1 Versatile & Modular Design】Maximize your storage with the Unikito 72-inch L-shaped corner closet system. This modular closet organizer features a unique 2-in-1 versatile design: use it as one massive integrated unit or split it into 2 separate freestanding closet towers. Engineered to fit into any "dead corner," it's the ultimate space-saving solution for small apartments, master bedrooms, or walk-in closets, tailoring your space to perfection.
8. Finish with Trim and Paint

Face frame and base trim are what turn a stack of boxes into something that looks built for the house.
I install the frame flush to the cabinet edges first, then add baseboard that matches or complements the room’s existing trim. Nail holes get filled with wood filler, seams between trim and wall get caulk, and every joint needs patience.
Sanding runs 80-grit, then 120-grit, then 220-grit, stepping up each time so the surface stays smooth without swirl marks.
The first pass knocks down filler and rough wood, the second evens the scratches, and the third prepares for paint. Skip a step and the finish telegraphs every shortcut.
For paint, Behr Premium Plus is one option that holds up well, especially if you are spraying.
It does not need thinning, so you can run it straight through the gun. Whether you spray or brush, two coats over proper prep beats three coats over rushed work every time.
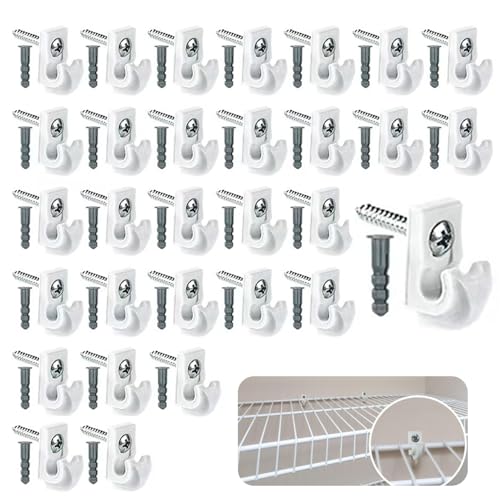
【1️⃣ Designed for Wall Mounting Support】 These wire shelf clips are designed to secure wire shelving to the wall for added stability. Ideal for closet storage racks and lightweight shelving systems in bedrooms, kitchens, laundry rooms, and utility spaces.

WALL CLIP SET: You will receive 24 / 48 pieces of wire shelf clips, 24 / 48 screws and 24 / 48 expansion tubes, a total of 72 / 144 pieces with a storage box. The quantity is enough for you to use and replace, or share with your mates

WALL CLIP SET: You will receive 12 / 24 pieces of wire shelf clips, 12/ 24 screws and 12 / 24 expansion tubes, a total of 36 / 72 pieces with a storage box. The quantity is enough for you to use and replace, or share with your mates
9. Final Touches

Hardware is where a closet stops looking like a storage unit and starts looking like part of the room.
I would match the finish to whatever the adjacent doors and drawers already use: brass with brass, matte black with matte black.
The source passages mention gold drawer pulls specifically, and they do read more intentional than basic chrome, but only if the rest of the house can carry it.
In a rental or a first home with mixed finishes, simple is safer.
Install knobs and pulls with the same screw-hole spacing as the hardware you measured, or you will be drilling filler holes you did not plan for.
Tighten firmly, then come back after a week of use and check again. Wood settles slightly under new load, and screws that felt tight on day one can loosen.
Drawer fronts shift; a pull that sat flush may need a quarter turn. This is normal, not a flaw in your build.
If you want one decorative element, the peel-and-stick wallpaper behind a shelf or a small round mirror on a side wall adds personality without the commitment of paint or tile.
Keep it removable. Taste changes faster than closet systems wear out, and you will want the option to swap it out in a year or two without rebuilding the carcass.

DOES THIS FIT MY CLOSET?: Fits any walk in or reach in closet that is 3-6 ft wide.

Maximize Your Space: With 4 expandable closet shelves and 4 extendable hanging rods, VIPEK X3 freestanding closet rack adjustable from 5'2" to 8' befitting a large space. It provides flexible solutions for you to maximize storage in a limited location to make full use of your space

Maximize Your Space: With 4 expandable closet shelves and 4 extendable hanging rods, VIPEK X3 freestanding reach-in closet adjustable from 5'2" to 8' befitting a large space. It provides flexible solutions for you to maximize storage in a limited location to make full use of your space
Materials and Tools

Three-quarter-inch plywood or 4×8 MDF sheets form the core of every closet I build, and the choice between them comes down to how finished the space needs to look.
Plywood holds screws better and resists sagging across a 4-foot span, which matters for closet rods and the shelves above them.
MDF paints smoother and costs less, but it swells at any edge that gets wet, so I only use it in bedrooms with good ventilation.
Either way, you will need 2x4s for the base frame and wall blocking, plus construction screws and wood glue for joints that actually stay square.
The tool list is short but specific: a circular saw for breaking down sheet goods, a miter saw for clean 2×4 cuts, a drill, a 4-foot level, and a brad nailer for attaching face frames if you want that built-in look.
Budget about $450 for materials, which assumes you already own or can borrow the saws. Skip the brad nailer if you are painting everything; screws and filler work fine and the tool rental pays for a better grade of plywood instead.
Safety goggles and a dust mask are non-negotiable, MDF dust in particular is nasty stuff to breathe, and a closet is too small a space to get careless in.

Sturdy and Durable: A durable and sturdy hanger bar made of stainless steel, with a corrosion-resistant and shiny finish, and can support up to 33lbs in the middle of the bar.

【PATENTED DESIGN: Upgraded Adjustable Width & Height】The width range is from 17.9 to 29.7 inches, and the height range is from 9 to 37.8 inches. The user-friendly design features hand-tightened screws with 9 adjustable height levels, accommodating various storage needs. Upgraded Foldable Design - the upper and lower sections fold to overlap, with holes that align perfectly, making it ideal for small closets. Dimensions: 37.8"H x 29.7"W (Fully Expand)
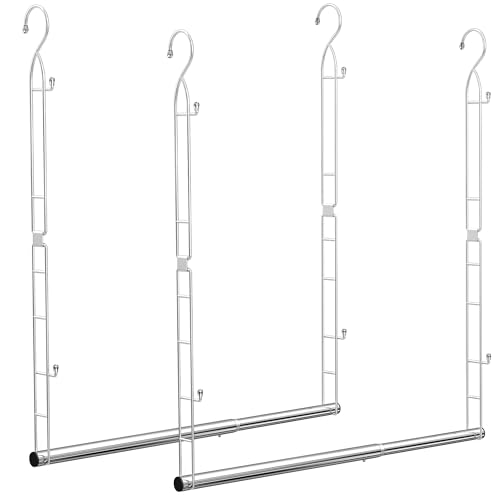
Maximize Closet Space: The hanging closet rod is an innovative solution designed specifically for individuals who love organization and struggle with limited closet space. This closet hanging rod is crafted to help users maximize their closet capacity while maintaining a neat and tidy wardrobe.
Plywood or MDF

Plywood and MDF sit at opposite ends of the same aisle, and the choice between them shapes every step that follows.
Plywood wins on strength. Its layered construction grips screws without stripping, holds the weight of heavy winter coats on rods, and survives the occasional bump during installation without crumbling at the edges.
That same structure means a painted surface shows the grain through the primer, so you will spend more time filling and sanding if you want a cabinet-grade finish.
MDF is cheaper by the sheet, heavier to carry up stairs, and nearly flawless under paint. The factory surface takes primer like paper takes ink, and the edges machine clean for tight joints.
The cost is structural: screws bite poorly into its compressed core, so joints need glue and careful pilot holes, and a shelf loaded over time can sag where plywood would hold flat.
For a closet with adjustable shelving and rods that will move as wardrobes change, I would pick plywood and budget the extra hour for surface prep.
For a reach-in closet with fixed shelves and a coat of white semigloss, MDF saves money that belongs in hardware or trim. The only wrong choice is treating them as interchangeable once the saw starts.
Keep It Level
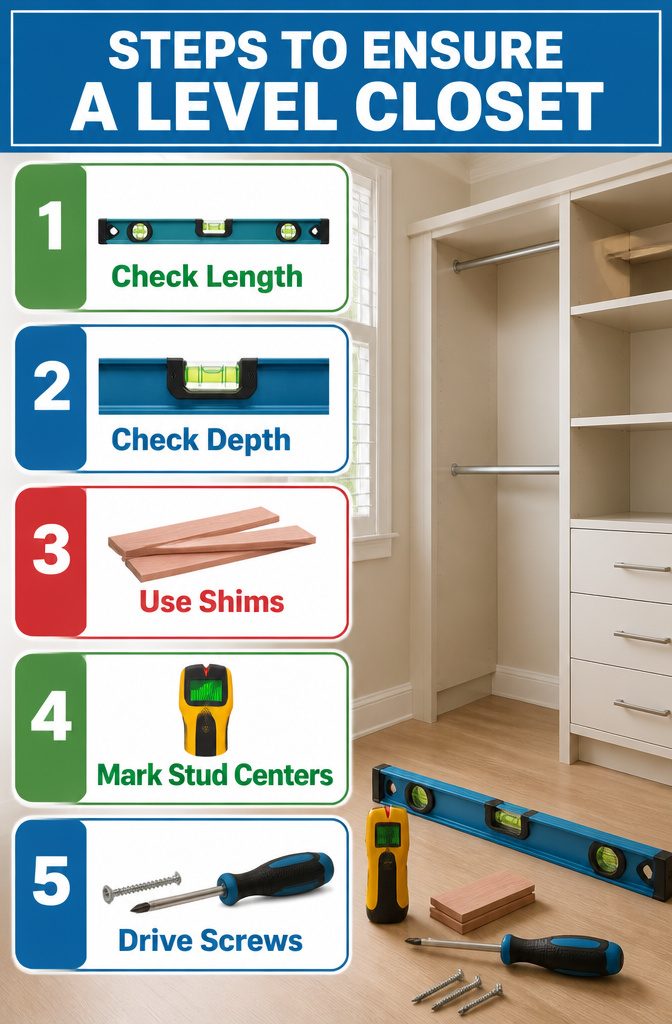
A 4-foot level is the tool you need here, and checking it in both directions matters more than most people think.
A shelf can read perfectly side-to-side and still pitch forward or back, which you will not notice until rods slide to one end or drawers bind. I check length, then depth, every single time.
Walls are not even.
Gaps where shelving meets drywall almost always trace back to a base that was not leveled first. Shim before you anchor anything.
A thin cedar shim under a cleat now beats trying to-plane a shelf edge flush later. Starting level saves the work of fixing it afterward.
For the wall attachment itself, a stud finder is worth the fifteen dollars.
Screw bracing into studs, never drywall. That is the only way it will hold weight long-term.
I mark stud centers, drill pilot holes, and use a level to keep the cleat straight as I drive the first screw. One screw level holds the cleat; the second screw, checked again, locks it.
Fixed or Adjustable Shelving

Fixed shelves give you strength and speed. A shelf screwed directly into the side panels can take more weight and goes in after a single measurement.
Shelf-pin systems trade some of that rigidity for flexibility: you drill a vertical row of holes, drop in metal pins, and rest the shelf on top.
The unit adapts when your shoe collection grows or you need hanging space where folded clothes used to live.
For a first build, fixed shelves are the safer call.
Drilling the pin holes straight and evenly takes a jig and patience; without one, the shelf rocks or sits crooked. Adjustable systems shine in closets where storage needs shift seasonally, like a child’s closet or a shared guest room.
In my own builds, I mix the two: fixed shelves at the bottom for heavy bins, adjustable rows above for clothes that change height.
The hybrid costs nothing extra in materials and saves the headache of getting every hole perfect on your first try.
Safety Gear
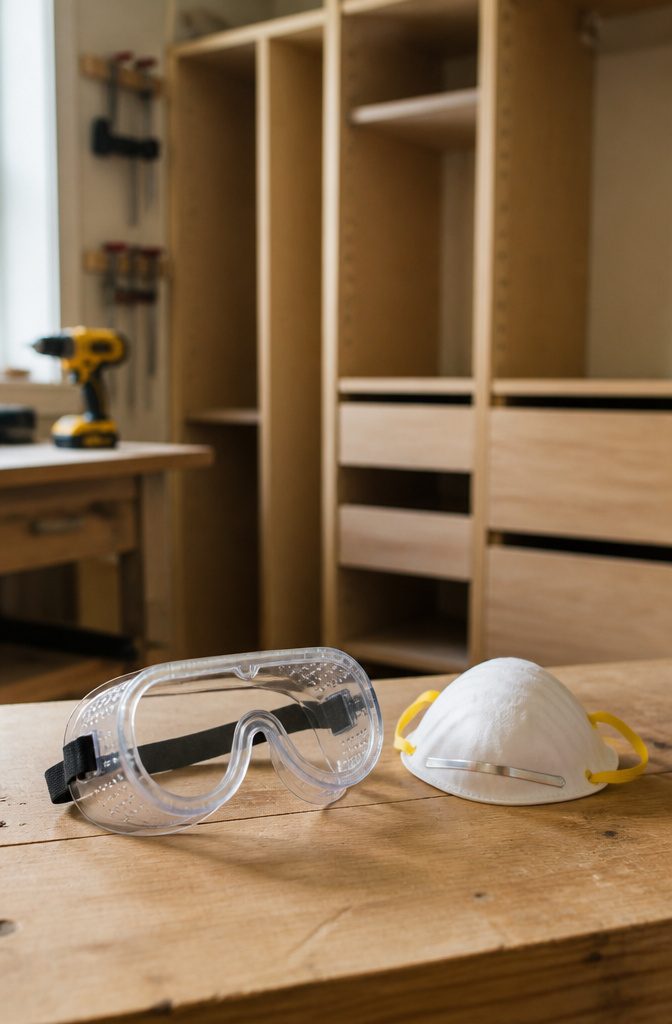
Safety goggles matter most when you are tired, which is exactly when you will lean in close to a cut or forget where the nail gun is pointed.
I keep a pair that seals against my face rather than the open vented kind; sawdust still finds its way around the cheaper ones during long cuts.
A dust mask is non-negotiable for sanding MDF or plywood, since the formaldehyde binders in those sheets are rougher on your lungs than plain wood dust.
I use a respirator with P100 filters when I am cutting a lot of sheet goods, but a well-fitted N95 works for shorter sessions. Hearing protection is the one people skip because the damage builds slowly.
Sustained exposure from a circular saw or router adds up faster than you think; I keep disposable foam plugs and over-ear muffs both on hand so I do not talk myself out of it.
Unplug the tool before you change a blade or bit.
No safety lock or switch is a substitute for pulling the cord. The thirty seconds it takes has saved me from every close call I have had in a shop.
Frequently Asked Questions
What materials do I need to build a closet?
Three-quarter-inch plywood or MDF sheets, 2x4s for the base frame, construction screws, wood glue, and paint or primer are the core materials.
You will also need wood filler, caulk, and spackle for finishing, plus shelf pins or brackets and hanging rods depending on your layout.
How do I ensure my closet is level?
Check with a 4-foot level in both directions, length and depth, before anchoring anything.
Shim behind units at the studs to make them plumb, since most walls are not flat. A shelf that reads level side-to-side can still pitch forward or back, which you will only notice once rods slide or drawers bind.
How do I install drawers in my closet?
Build drawer boxes to fit your opening minus a half-inch on each side for bottom-mount slides, then install the slides to the box first before mounting the matching hardware inside the cabinet.
Test the drawer front dry with playing cards as spacers before gluing, and check screws again after a week of use since wood settles under load.
How much does a DIY closet cost?
Budget about $450 for materials assuming you already own or can borrow saws.
One builder finished a melamine system for under $57 using edge banding and existing paint, while another mixed 3/4-inch shelves with 1/2-inch sides to stay under $1,000. Skipping the brad nailer and renting instead frees money for better-grade plywood.
What are the standard dimensions for closet framing?
A reach-in closet needs 24 inches of depth from back to front so hangers clear the door jamb.
Rod height is 42 inches for shirts, 70 inches for dresses, and a double-rod setup places the lower bar at 40 inches with the upper at 80. With an 8-foot ceiling and a 2×4 base, vertical panels max out around 91 3/4 inches.
What are some ideas for DIY closet organizers?
A double-rod section doubles hanging capacity in the same footprint, while adjustable shelves let you shift from boots to sandals seasonally.
Three drawers at 20 inches wide and 6 inches tall replace a dresser in a walk-in, and corner shelving turns dead space into usable storage. Peel-and-stick wallpaper behind a shelf adds personality without commitment.
Is it cheaper to build or buy a closet system?
Building yourself costs a fraction of custom units, with one system priced at $56.89 in materials versus professional pricing that runs into thousands.
A wardrobe built-in is heavy solo work, and drawers eat a full Saturday that a pre-made kit would skip. That saved time is what you pay for.