

I grab my 24-inch Johnson Level and mark a line 2 inches above the window reveal to keep everything straight. Then I cut strips with 2 inches extra at top and bottom, paste them up to the window edges, and book the fold so the glue stays workable. I smooth from the center out, make tiny relief cuts at corners, and trim with a fresh blade against a straightedge. Finally, I hide seams at returns with a 20-30 mm overlap and trace the frame with my knife for a professional finish. The technique for outside corners requires careful attention to angle and pressure.
Mark a Level Line to Keep Wallpaper Patterns Straight
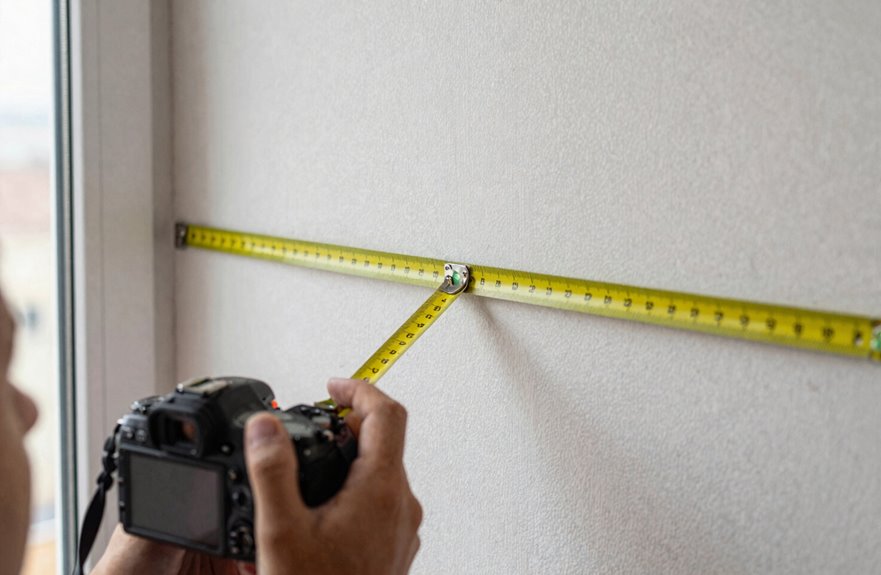
Why do crooked wallpaper patterns bother us? Because we’ve all experienced wonky wallpaper stripes that make a room feel like it’s sliding sideways. That’s why marking a level line is essential for every window alignment project.
I grab my 24-inch Johnson Level and mark a horizontal line about 2 inches above the window reveal using a sharp pencil. This becomes my level guide for hanging wallpaper, keeping straight edges consistent even when the ceiling isn’t perfect. I align my first strip’s top edge to this mark, and pattern alignment becomes achievable.
As I work, I recheck that level line every third strip. Those overlaps near window corners stay crisp, and trim adjustment becomes straightforward. The result is properly aligned wallpaper with no guesswork required.
Cut Extra Length for Trimming Around Window Frames
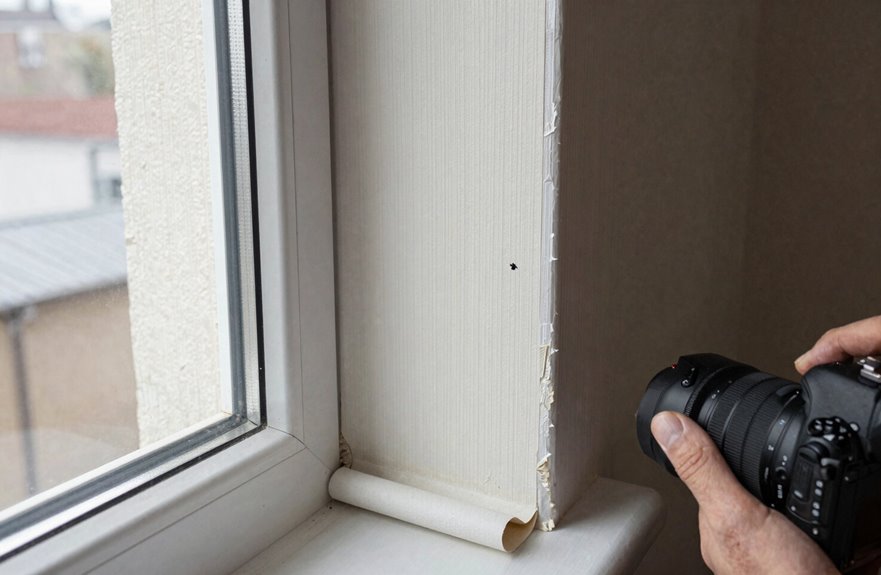
How much extra wallpaper do you really need around a window? Leave about 2 inches of excess length at the top and bottom.
When hanging wallpaper around windows, window trimming starts with smart prep. Mark the window edge on your strip first, checking window frame alignment so your pattern flows right through the opening. Then make relief cuts at the corners, just quick diagonal snips, so the paper wraps smoothly around window jambs without resistance.
Once you’ve smoothed everything down, grab your straightedge and trim with knife for clean edges. Always recheck seam alignment near the window, because gaps appearing after completion compromise the finished result.
Book the Fold and Paste Up to Window Edges
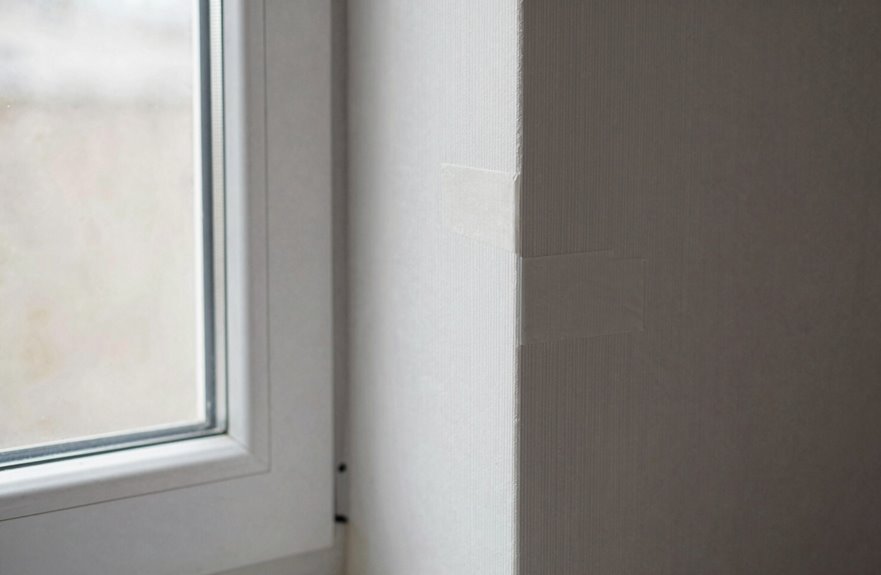
Where exactly do you start when the window’s staring back at you? I book the fold on my first strip with paste side to paste side so nothing dries out while I work. Then I paste up to window edges and let that strip hang level, folding the excess toward the window reveal. This keeps me in control.
My go-to method:
| Step | What You Do | Why It Matters |
|---|---|---|
| 1 | Book the fold | Keeps paste wet and workable |
| 2 | Paste up to window edges | Creates your sealing edge |
| 3 | Check seam alignment | Matches patterns perfectly |
| 4 | Make relief cuts | Wraps corners without tearing |
| 5 | Trim with straightedge knife | Clean fit at window trim |
I fold that excess parallel to the opening, align my next strip for flawless wallpaper around windows, and snip relief cuts at corners. This produces smooth, properly fitted walls.
Smooth, Press, and Trim Wallpaper With a Sharp Blade
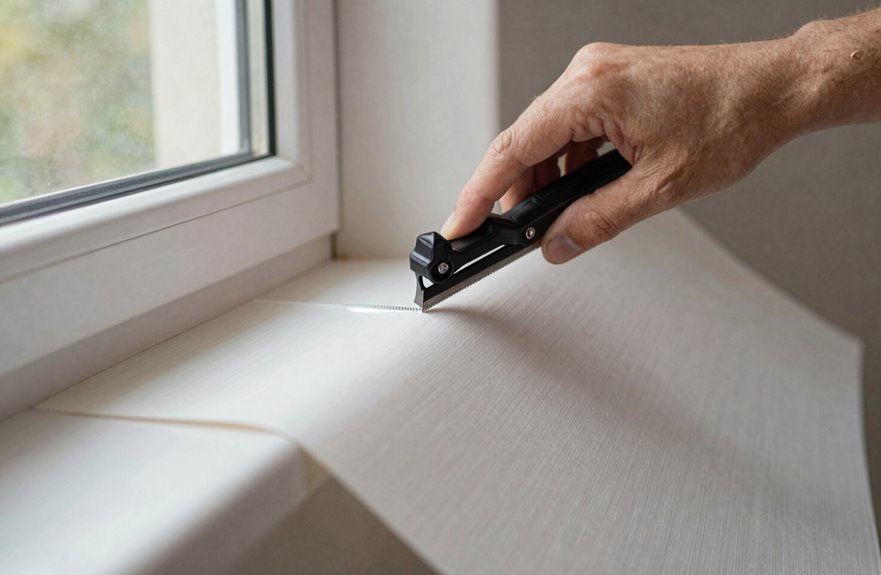
Once that first strip is hanging level with the excess folded toward the reveal, I’m ready to get this paper sitting flat and looking sharp. I grab my sharp blade and start edge smoothing from the center out, working bubbles toward the window openings.
I make tiny relief cuts at the corners so the paper folds neatly into the window reveal without fighting me. Then I lay my straightedge along the frame crease and trim with confidence using a fresh blade and gentle pressure to avoid tearing. I leave about 2 inches of run-off at top and bottom for adjustment.
After trimming, I press the seam with my seam roller, locking that edge down tight. The result is clean lines with professional appearance.
Hide Seams at Window Returns and Outside Corners
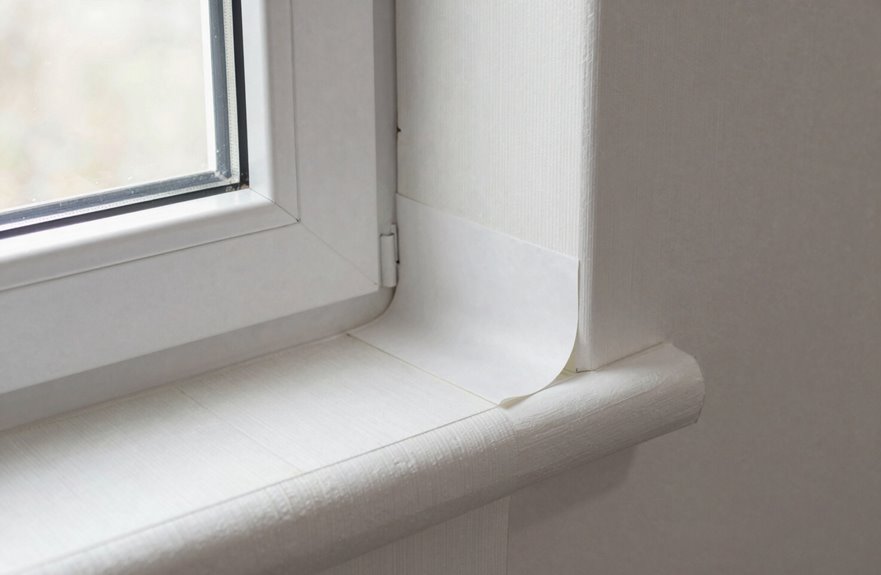
Why do seams always seem to scream for attention at the worst spots? I can help you hide them at window returns and outside corners.
First, align your wallpaper edge right with the window reveal and create a seamless butt join. Smooth from the center outward with no gaps allowed. At tricky corners, make relief cuts diagonally so the paper wraps cleanly without tearing. Ripped edges are problematic.
For outside corners, extend the pattern across and trim flush to the window trim after smoothing. The technique involves leaving about 20-30 mm overlap onto the frame, then using embossing to trace the exact outline. Finally, trim precisely with a sharp knife along a straight edge. This produces crisp, invisible seams that match professional results.